I've managed to finish my early GWR one-planker, built mostly from styrene. Just to recap, the prototype is one of the 18ft types with wooden solebars, originally built in the 1870s. We don't hear
much about GWR one-plankers, but there were more than 2300 in service in the early 20th century. They appear to be a bit of minefield with a variety of dimensions, so mine is based on the drawing in "GWR Goods Wagons" by Atkins et al. Details are based on no. 5141, of which a couple of photos exist.
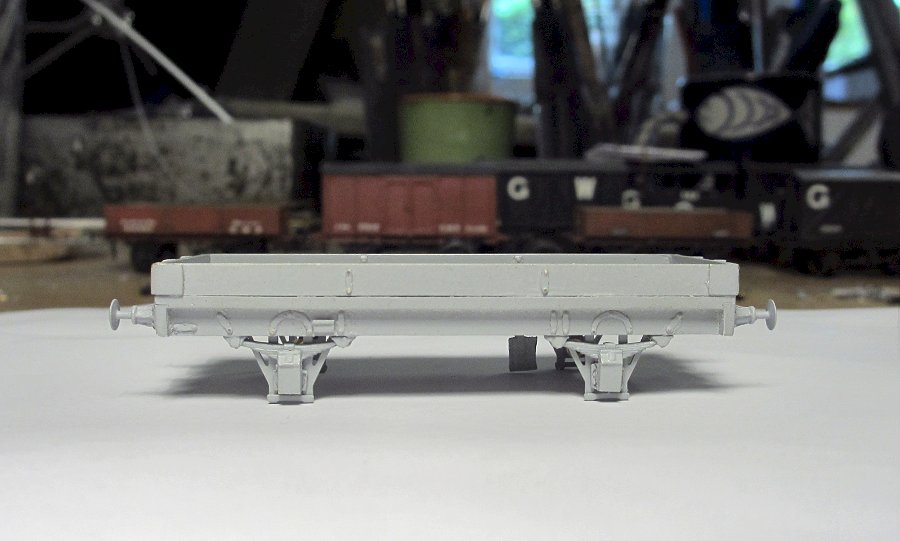
Here she is with a light dusting of grey primer, in preparation for the rivet transfers. It seemed a shame to cover all those nice brass detailing bits, but sooner or later we all loose our shine!
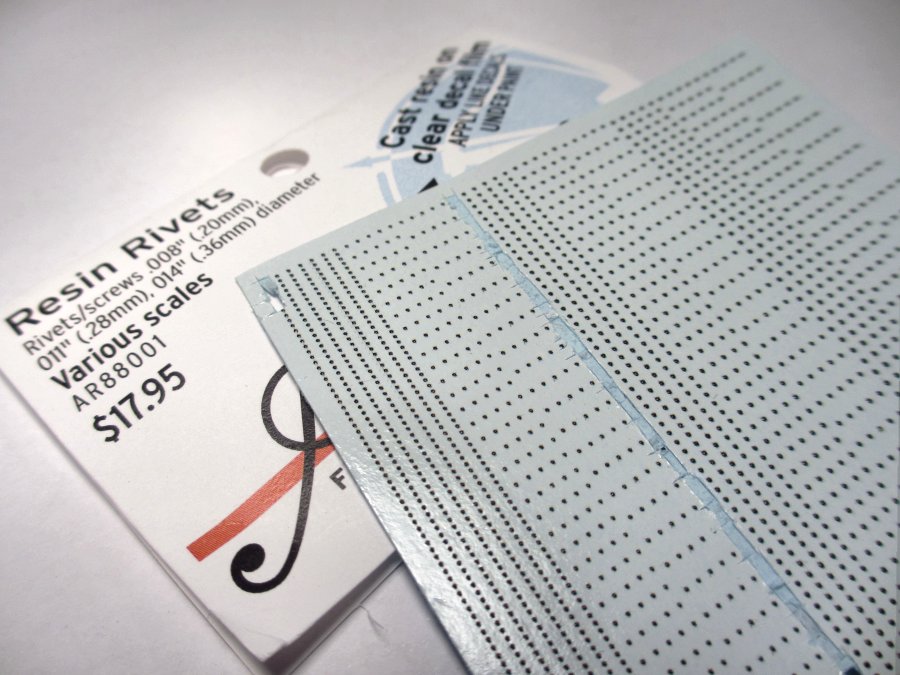
For the rivets I used Archer's resin transfers. I bought the mixed-size sheet as it is a bit difficult to assess beforehand what size you need. There doesn't seem to be many UK stockists, but DCC supplies have them. They are not cheap, but there should be enough here for several jobs.
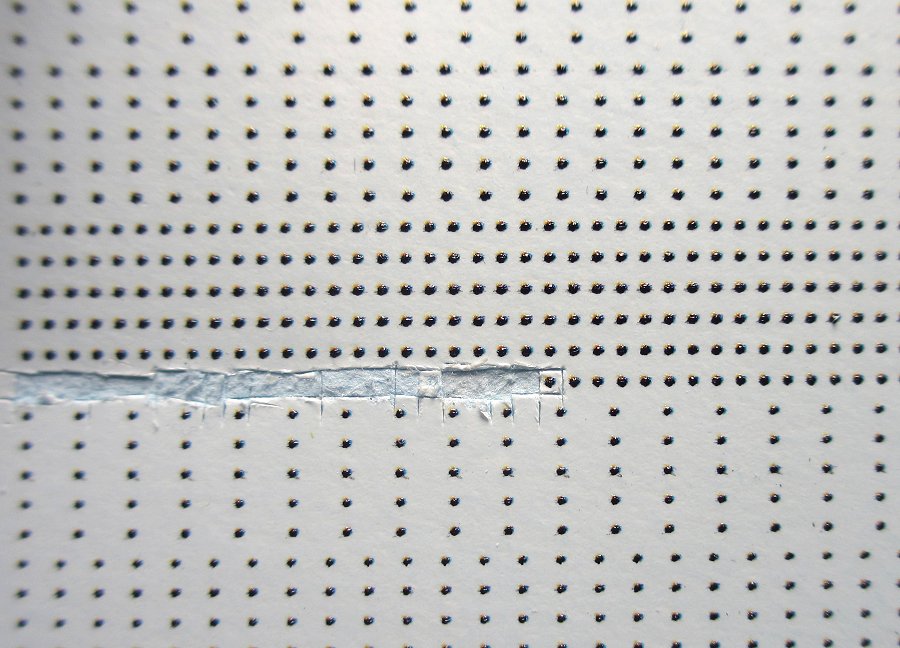
Pacman? No, rivet transfers. The clever bit is that you can cut out strips of rivets and therefore don't have to add each one individually. But it depends on the prototype of course. In my case I did have to add a lot of them individually to get the right spacing.

The transfers need to be soaked in warm water prior to application. The instructions suggest retaining the backing paper until the rivets are in place, and then sliding it out from under them. I personally found it easier to tease off the backing paper with a brush while in the water, and then simply add the transfer directly to the wagon.
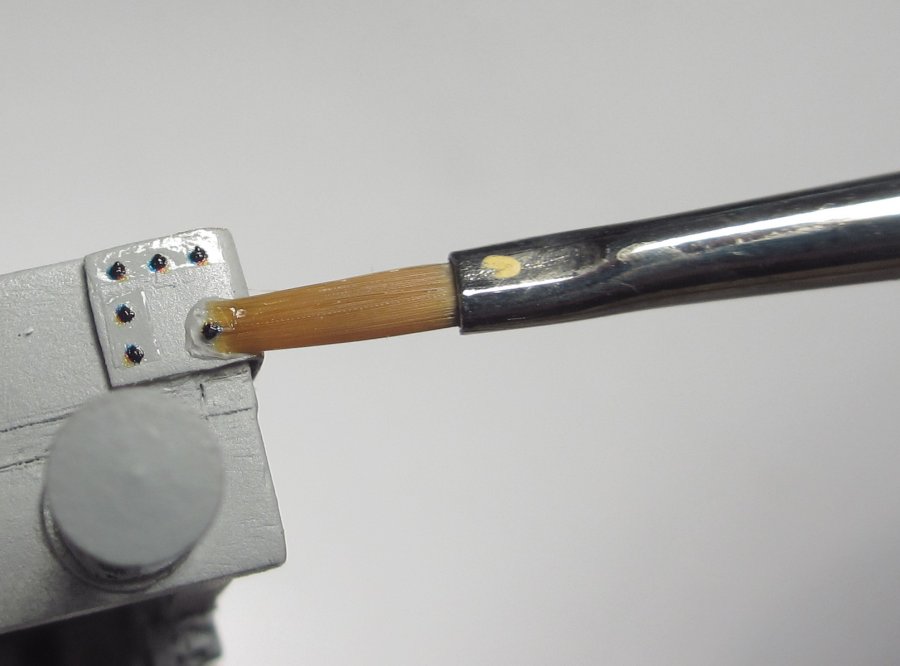
As long as they're wet, the transfers can be gently nudged in place and repositioned as required. Once they dry up they start to harden. As RMwebber Sasquatch advised me, the transfers really do need a coat of primer to stick to if you want good adhesion. As you can see, the transfer film is fairly obvious...

... so as recommended in the instructions I used Microsol on top of the transfers, which interacts with the primer and transfer film so that the latter essentially dissolves.

Train spotting. The transfer film is gone and the rivets are stuck in place. One of the fun things about scratch-building is that you can replicate the idio-synchrasies of a particular wagon. The real no. 5141 also had a rivet head missing on one corner plate, and lacked rivet plates on one end of the solebar. The ribbed buffers are from MJT and this close-up is a little unfair to them.
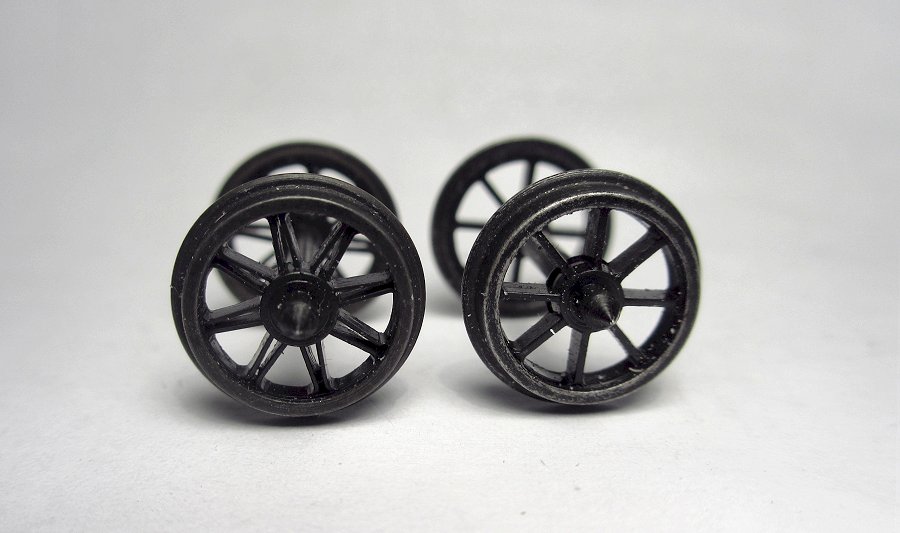
Another of those little imperfections that I rather like, and that noone else will ever notice! Photos of no. 5141 show the wagon with two different wheel types, one axle with split spokes and the other with solid spokes. I'm sure it wasn't built like that, but something happened along the way. We all know the feeling!
Here she is again after another coat of primer to cover the rivets. The brake is a bit of an enigma. We know that these wagons had a single large wooden brake block, but the details of the arrangement are not clear. The two photos that exist of no. 5141 are from the unbraked side, and the brake is only seen as a ghostly shadow. Photos of other wagons with single brake blocks suggest that there were several different types, so that is not much help. The arrangement seen here is therefore my guesstimate, based on consultations with knowledgeable RMwebbers (any mistakes are entirely my own!).
Then came the question of livery. As discussed elsewhere, my working assumption is that wagon bodies were red right up to 1904. But what about the bits below the solebar - the axleguards etc? Were they red or grey? I tend to think grey, but looking at photos of the real 5141 it does look as if it's the same colour all over. I can't show the prototype photos, so above is a shot of my model instead, taken with the "monchrome" setting on my compact camera. As you can see the wagon is clearly the same colour all over....
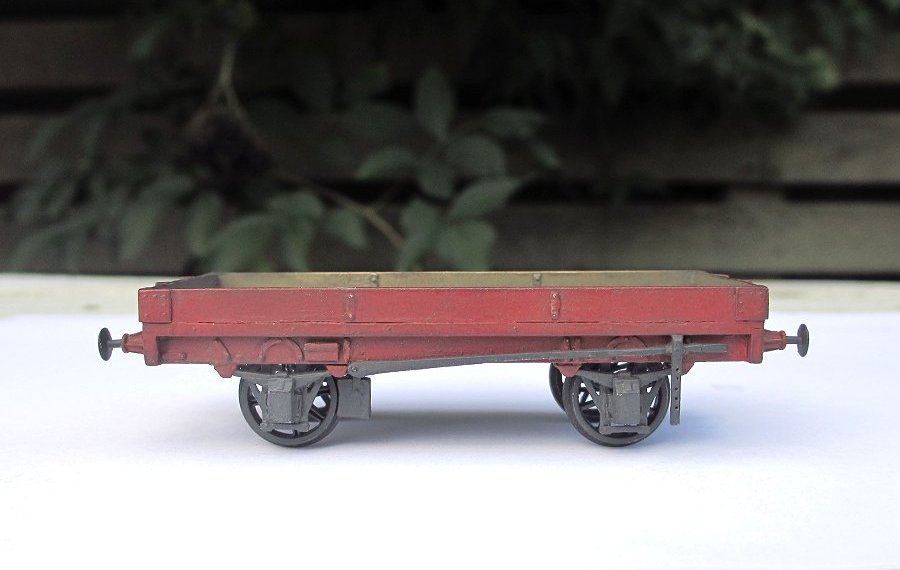
...except that it isn't
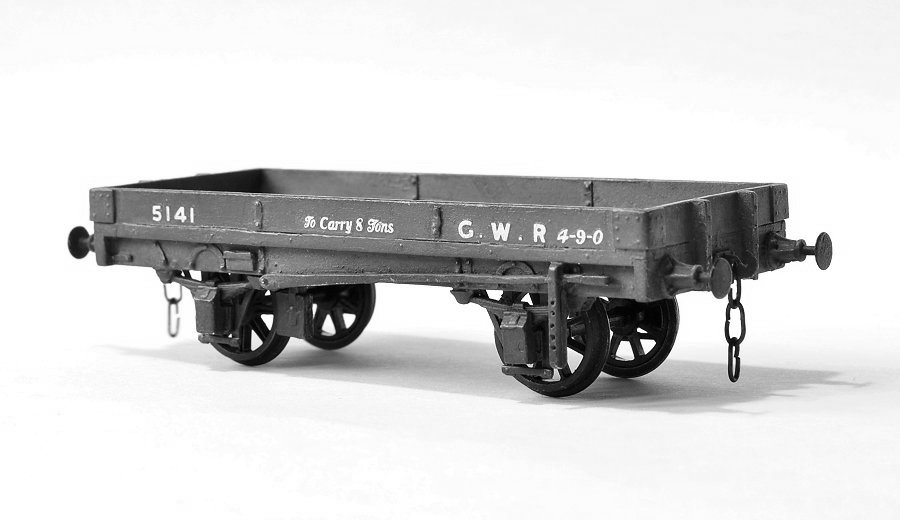
No doubt it also depends a lot on the colour shade and lighting: This photo was taken indoors with artificial lighting, after I had given the wagon a second coat in a different shade, and treated it with weathering and varnish. Here you can actually see a colour difference between the axleguards and the body. This may explain why the evidence from prototype photos is so ambigious. In any case, for the time being I'll stick with "red on top, grey underneath" (to paraphrase the old Kerryman joke).
So here she is in more or less finished condition. I say more or less because the prototype photos of no. 5141 show her with broad gauge-style incised lettering on the solebars, and a variety of chalk markings on the sides. I must admit I am at a loss on how to reproduce these, especially the incised letters, so I might have to compromise and leave it off. As for the shade of the red colour, I wanted to try out something a little more worn and toned down that on my other wagons. Experimenting is half the fun of modelling, I think.
Lady in red. Not much to look at really, and quite labour intensive. But she's all mine!
Edit August 2015: I recently came across a photo on the web which I think may show one of these wagons. There aren't a lot of photos of them around and I have never seen this photo mentioned before in the literature. Note especially the enlargement available in the r/h column: http://www.dudleymal...ak/roundoak.htm


