
When in danger or in doubt, get the model railway out. The fourth layout in the Farthing series is taking shape, a welcome relief from the lockdown blues.

Above is a reminder of the trackplan. So complicated that it broke Templot. Only very advanced modellers can do that.

A test piece to see what the new Peco Bullhead track is all about. I decided to give Peco a go as a change from handbuilt track. The chairs are wrong for GWR, will be interesting to see how much I notice it.
One advantage of the new Peco track is that it’s voice controlled. You simply tell it where to go and it will lay itself.

The layout will be operated as a micro on a daily basis, but I may add a further module for extended operation, or even a direct link to my "Old Yard" layout.

The rear siding therefore extends to the baseboard edge, and is protected by a removeable buffer stop, knocked together from balsa in the stopgap style of the old N&SJR.

The other stops are standard GWR, built from the Lanarkshire Models kit. In order to fit them on the Peco track, I had to carve off most of the chairs. Have others found a better solution?

For replacement, I dug into my stash of C+L GWR chairs. Ironic, as I now have proper GWR chairs next to the Peco ones. Maybe I should slice up some Peco chairs and fit them instead. What a cruel close-up by the way, I need to get out the filler.

I wanted some sort of 'inset' track for the front siding. Photos suggest that while proper inset track was certainly used in some GWR yards, more pragmatic solutions were preferred when feasible. This includes leaving the four foot unpaved, as seen in the bottom three photos here (all heavily cropped). That seems to have been a favoured solution where cartage vehicles needed firm ground to off-load or pass alongside the rails, but didn’t have to cross them. I haven’t seen this modelled much, so gave it a go.

The outer sections of the sleepers were cut off to avoid the chairs fouling the paving. At this point I was seriously wondering why I hadn’t just made my own track! Here, DAS is being applied to the four foot.

The rail was raised slightly above the edging stones to allow for track cleaning. Partly modeller's license, but also in compliance with one or two prototype photos.

While not as elegant as proper inset track, I like how it creates a visual break in the setts.

The setts were made using old paintbrush heads, fashioned to shape.

The material is Forex, a.k.a. ’foamed PVC’ but apparently now without the PVC. The technique also works in DAS clay. The photo is a bit misleading as I used a ruler while pressing the setts, in order to ensure straight lines.

A scriber was used to individualise a few setts and sort out mistakes.

The material can be curved slightly if necessary.

The method has pros and cons. You tend to get a fairly uniform look and it’s hard to avoid the occasional gap between the grooves when pressing down the brush heads. But with practice I found it speedy and tidy, and I like that it can be done away from the layout – especially as I have to work in our living room.

Drainage channels were made by drawing a screwdriver tip along a ruler…

…then pressing in setts as appropriate.

This drainage channel was done differently, by simply pressing the setts deeper than the surrounding ones.

The ground in front of standard GWR stable blocks was often paved with either cement or bricks. I went for red bricks, forgetting that one drawing I have says blue engineering bricks (better quality). I may repaint them, but then again I may not.

For the entry to the goods depot, I used a Green Scene roller on blue foam as described in my workbench thread on RMweb.

The arched setts are a nod to the yard at Birmingham Moor Street. The Pooley & Sons weighbridge is a Scalelink etch. The weighbridge office is a temporary mock-up.

The flagstone pavement was done using the same Forex material as the setts, with the kerbs and flagstones lined out in pencil and then scribed.

My original plan was that the road the front would be laid with setts, but after encountering this thread on RMweb I began to examine photos and realized that 1900s urban roads were very often laid with various forms of non-tarred macadam or similar.

Here is Worthing South Street, captioned ca. 1900-1920. Even some parts of central London had streets like this. Sometimes such roads had gutters paved with stone, at other times setts were used or there was no gutter at all. Copyright Getty Images, embedding permitted.

Call me a romantic but I like the dry, light and almost ethereal appearance that such roads exhibit in certain summertime photos of the period. I used sanding paper, painted with Vallejo light sand and ivory. It still needs some weathering and a good smattering of horse dung!

For the GWR spearhead fencing, the initial plan was to use an old Scalelink etch - but it's rather fragile for a position at the front of the layout. So I used the Ratio GWR fencing. Photos suggest that the verticals should extend to the ground, beneath the lower horizontal bar. Never mind. The fencing sometimes had supports, may add those in due course.

I wanted the fencing to be detachable, to allow for close-up photos and easy replacement if I break something. So far it rests in a groove lined with blue tack. If that proves a botch too far, I could try micro magnets.

Some stations - e.g. Minehead – had a lovely display of enamel signs mounted on the spearhead fencing. I used those from Tiny Signs, cut with a scalpel, varnished twice and edged with a brown marker (in that order, otherwise the marker may discolour the sign).

The signs act as view blocks, and also help draw in the eye to what will become a staff entrance.

Here’s Charlie the horse admiring the adverts. He looks a bit out of focus. It must be the provender. In his opinion, the GWR always did mix in too much bran.

Work to be done includes a scratchbuild of a GWR weighbridge office (the mock-up seen here is the old Smiths kit), and one or two other structures. The elevated rear section of the layout is a whole little project in itself, I'm hoping it will add further depth to the scene.

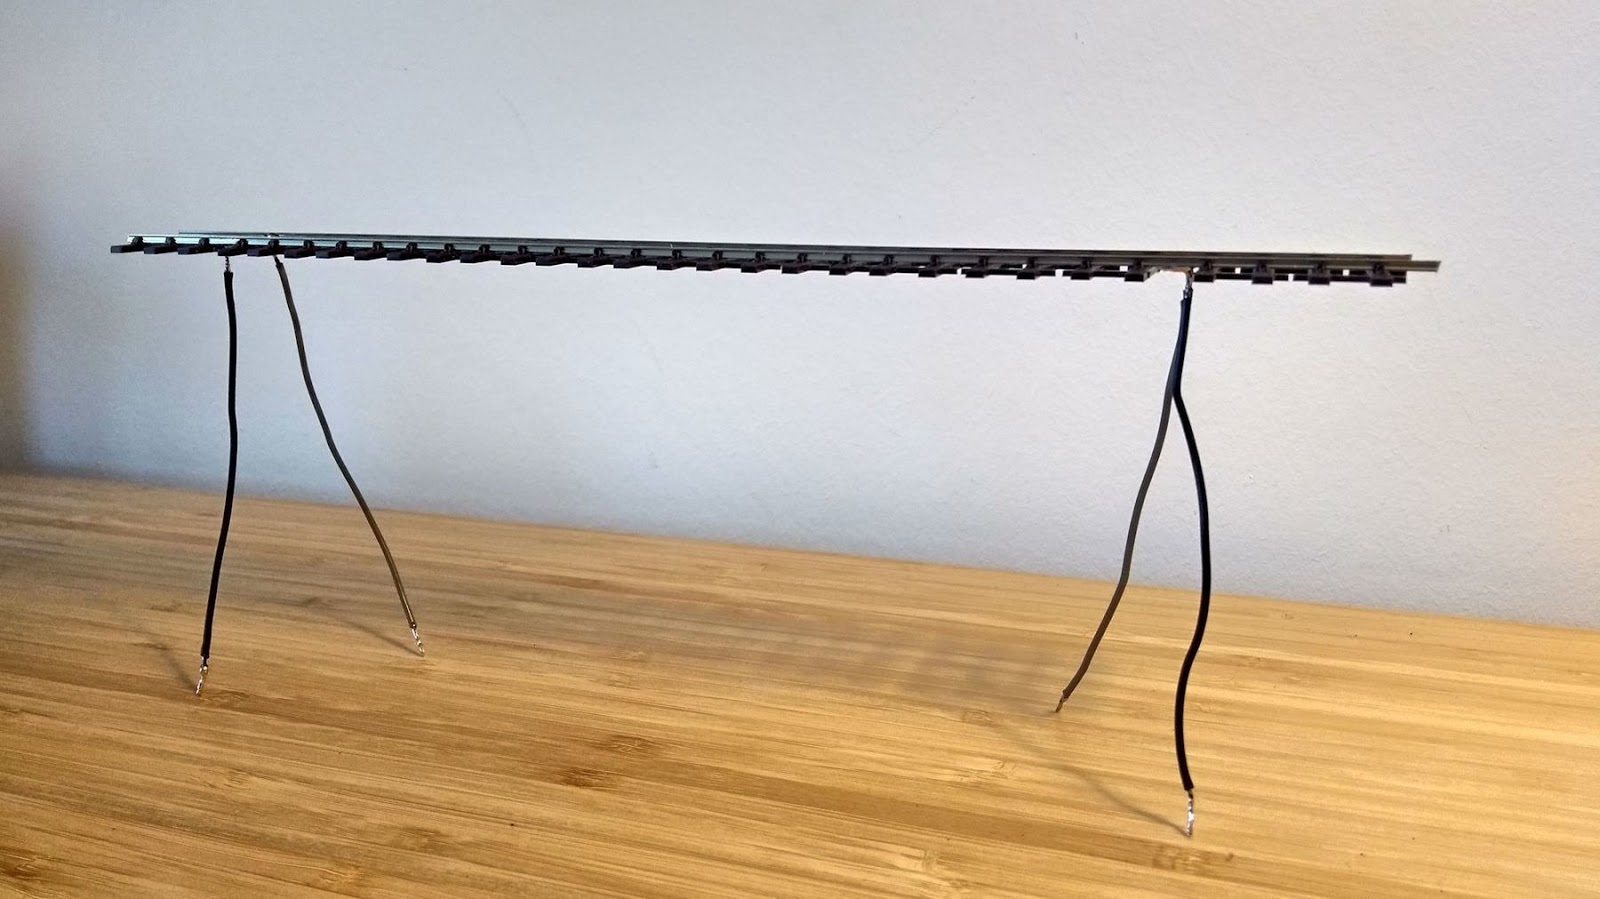
Lastly, an overview shot. It’s all wired up, but I can’t operate it without a traverser. So that’s next.