I’ve made a detachable scenic extension for The Stables, using magnets. With this, the layout is more or less complete.
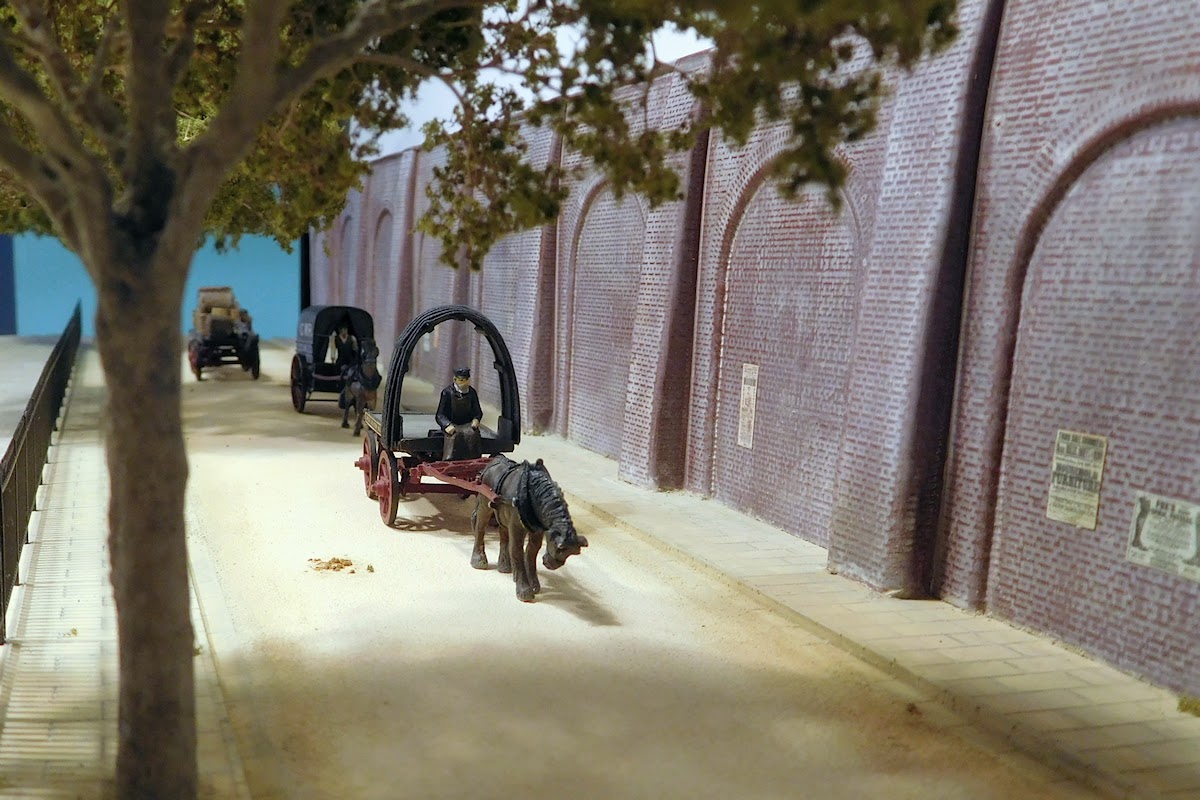
The extension module was knocked up from 10 mm foamboard. The aim was to portray a tree-lined street at the back of the layout. It had to be detachable so as to facilitate storage in our small flat.
The pavements were made in my usual way, flagstones lined out in pencil and later scribed with a round-nosed awl.
A black wash for weathering. Afterwards I stood the strips on the side to avoid unsightly puddles forming.
For the road itself I used a base of thin plasticard, curved to emulate the camber and with packing along the centerline (crown) for support. The top layer is painted sanding paper (grain 120), dusted with weathering pigments when dry.
Vacuum formed retaining walls from Southeastern Finecast. I’ve used these on all four Farthing layouts, as a visual leitmotif. The brick detail is variable but you get quick results and for me they work OK at the back.
The trees were made using a combo of techniques, as described in an earlier post.
I made the trees a push fit, as I may want to replace them later. I find that masking tape works well as a way to adjust thickness on larger inserts.
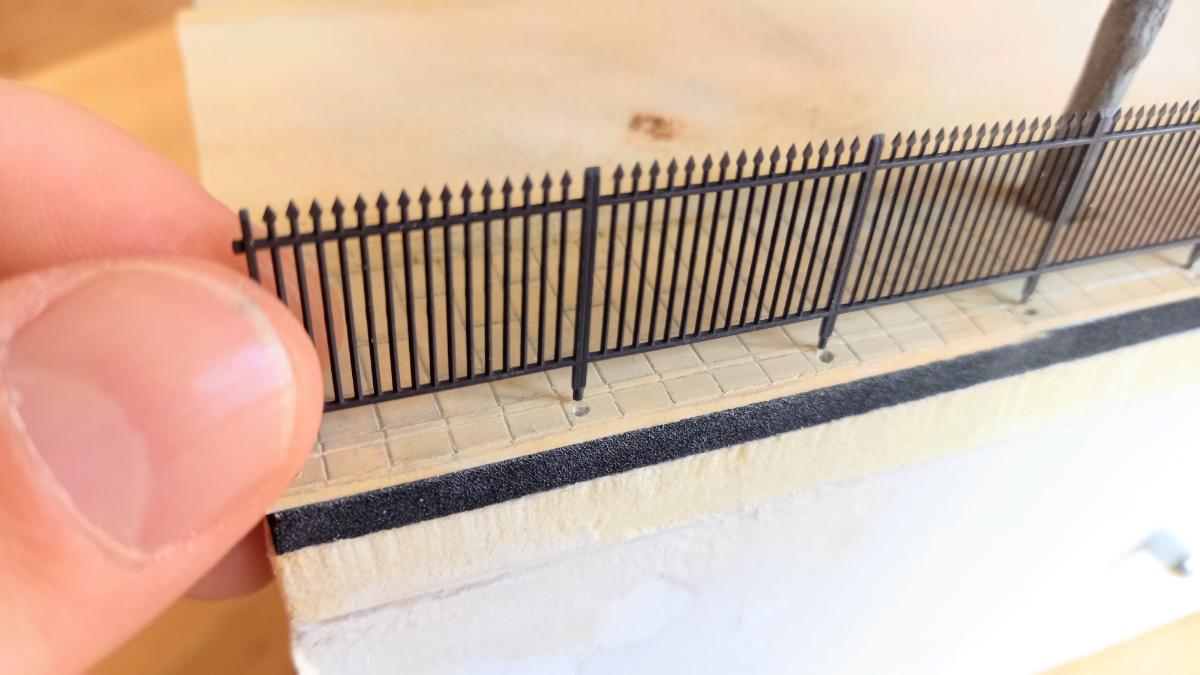
GWR standard spear fencing from Ratio.
As as aside, this 8 second video shows the fence at the front of the layout fitted with magnets. It allows easy track cleaning, photography and storage.
These are the little critters, with a toothpick for size. They can hold 130 grams each. Thanks to Dave for introducing me to the weird and wonderful world of magnets!
 Anyway, back to the scenic extension. I found some posters from the 1901-1903 period, and scaled them down. Houdini toured Britain in 1903.
In retrospect, I wonder if the neat Edwardians stuck posters directly to walls. Or were they exclusively mounted on backboards and hoardings?
So that was the scenic part of the job, a sort of "3D backscene". In principle, the same module could be used on different layouts. In order to attach it to the main layout, I experimented with magnets again.
I first tried these neodymium magnets, capable of holding 2 kgs each, but they were too powerful. I could hardly get them apart and was worried that they would mess with my loco- and point motors.
Instead I opted for some less powerful S&W uncoupling magnets. Cheaper magnets of the same strength can no doubt be sourced, but I happened to have a surplus and knew that these were safe for my motors.
I also fitted alignment dowels in order to reduce the downward pull of the module.
After experiments, I found that a mix of PVA and ultra-fine Polyfilla held the magnets and dowels surprisingly well in the foamboard that I use.
The extension then simply clicks on to the layout.
Another short video clip, showing the extension being clicked on.
 The extension sits tight and “floats” with no supports. Obviosuly, that works because the module is narrow and light (650 grams) and is used at the rear of my desk where no one can lean on it. Actual layout modules would need supporting legs.
Layout and two-level traverser on my desk. Further layout modules are being planned, and I'm thinking magnets can be a way to join them.
So "The Stables" is now more or less complete. To celebrate, here's a selection of photos. A little slice of Farthing in a Copenhagen flat...


