
Here are some illustrated notes from experiments with brick- and mortar-colouring for my 4mm scale station building. Please note that these are just my own bumbling exercises. There are no silver bullets here.
Method 1: Flood & Wait

So far, my standard method has been the well-known "flooding" method. I paint the brick sheets dark red (Vallejo 70.814 Burnt Red)…

… then when dry flood the sheet with a milky white wash (Vallejo 70.918 Ivory). This is then left to dry.

Sometimes I’m happy with the result, as on my stable block above.

But at other times it comes out messy, like here. These are South Eastern Finecast (SEF) brick sheets. I find that the method works best with Slater's sheets which have more sharply defined mortar courses. But my Silhouette cutter doesn’t like them, so I'm stuck with the SEF sheets.
Method 2: Wipe & Go

Looking for more control of the results, I tried another time-honoured method - i.e. painting a brick sheet, then wiping off the paint with a finger. This leaves paint in the mortar courses. Not a bad result for a quick effort, though it only adds colour, not texture.

Another attempt with the same method, using a darker paint for a different look. I know most people use a cloth or sponge to do the wiping, but in my view nothing beats the subtleness of a finger.

Lovely mess! I’ve always liked Phil Parker’s credit to “painty hands” in his blog tagline. I agree, it makes you feel alive 🙂
Method 3: Polyfilla Pointing
Turning to another method, I looked at Peter's lovely 7mm coaling stage over on RMweb, where the mortar is done with filler, using the technique described in this useful video:

I have only seen the filler method used on 7mm scale laser cut structures, but decided to try them on 4mm embossed plastic sheets.

I first tried rubbing lightweight Polyfilla directly onto an unpainted SEF sheet. Decent result, though the Polyfilla fills up the mortar courses almost too efficiently.

I then tried it on painted test pieces. Here the Polyfilla absorbed some of the paint, turning pink. The paint had dried for 24 hours, maybe longer is needed. And I see that Peter used Halfords spray paint. I used Vallejo Acrylics, maybe that’s the problem.

I also had challenges with the Polyfilla acting as a kind of abrasive when I wiped it on, removing the base colour (right). But these could just be teething problems, I may revisit this method later.
Method 4: Paint & Pigment

The Polyfilla method gave me an idea for an alternative approach. I painted a piece of SEF brick sheet…

…and immediately stippled on MIG modelling pigment (Sinai Dust ref A. MIG-3023) while the paint was still wet.

I then quickly brushed most of it off again. The remaining pigment sticks to the wet paint.

Finally I used a damp (not wet) finger to remove the pigment on top of the bricks. I found that a “prodding” motion worked best, along with an occasional diagonal wipe. The things we learn!

I like the matt texture and slightly uneven look left by the pigment. The mortar courses are overscale, but that seems to be the case on most brick sheets.

Here is the Paint & Pigment method used on Slater's brick sheets. Incidentally, comparing this photo to the previous one highlights the differences between Slater's and SEF sheets (different bonds notwithstanding). The Slater's bricks are more sharply defined.

The surplus pigment is not wasted, I worked on a newspaper so most of it was re-used.

The method does have issues. The pigment transforms the shade of paint, so I had to experiment carefully with different colours first, as above. The outcome is also affected by the thickness of the paint, the relative mix of paint and pigment, and how quickly the pigment is brushed off! The type of pigment used also matters, e.g. Humbrol powders didn’t work.

So I had to go through a good deal of trial and error with this method. On larger surfaces like those above I found that I had to work quickly, or the paint would dry before the pigment came on.

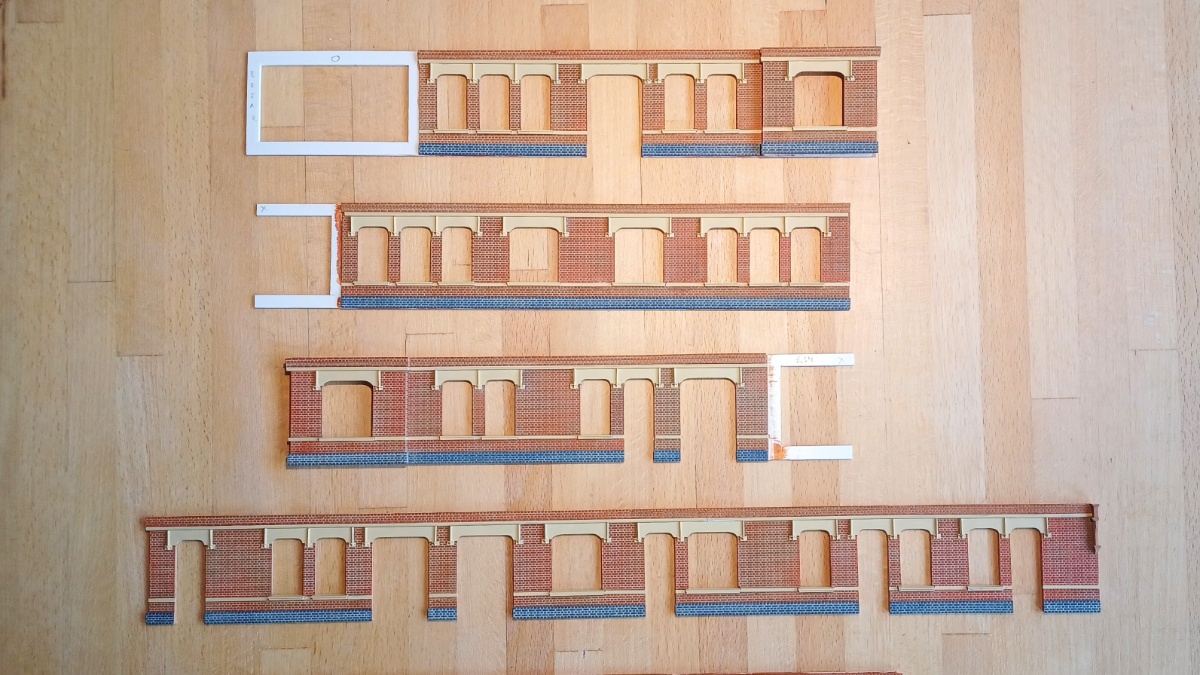
I liked the results though, and eventually ended up using it on my station building, as seen here.
I’m modelling my station in newly built condition so I assume the bricks and mortar should be fairly clean. Although I’m not quite sure what happens to the colour of mortar as it ages?

In any case, a bit of weathering may be in order. I’m currently experimenting with that. I revisited the old trick of rubbing a colouring pencil diagonally across the sheet. A very soft pencil seems to be vital, or it will rub off the paint.

I got better results with very careful dry-brushing using a dark brown colour. I think I’ll try a bit of that on my station building.

So that’s where I am at currently. The “paint and pigment” approach has worked out OK on my station building, but it involves various variables that can go wrong. I’d like to find a method with fewer risks and more control. Or maybe what I really need is a therapist 😊